Why Your Anchor Point Drifts — and the Three Checks That Fix It
Quick Answer: Anchor drift usually comes from three sources: relying on a single soft contact point instead of two or three, drawing to a position rather than into the back, and fatigue changing your draw at the end of a session. Build an anchor with at least two hard reference points, verify it with a mirror or video, and check whether your last-end groups are worse than your first-end groups.
Your first three ends are tight, your seventh is scattered, and nothing about your form feels different. Anchor drift is almost invisible from inside - a few millimetres of change at your face becomes a substantial miss at distance.

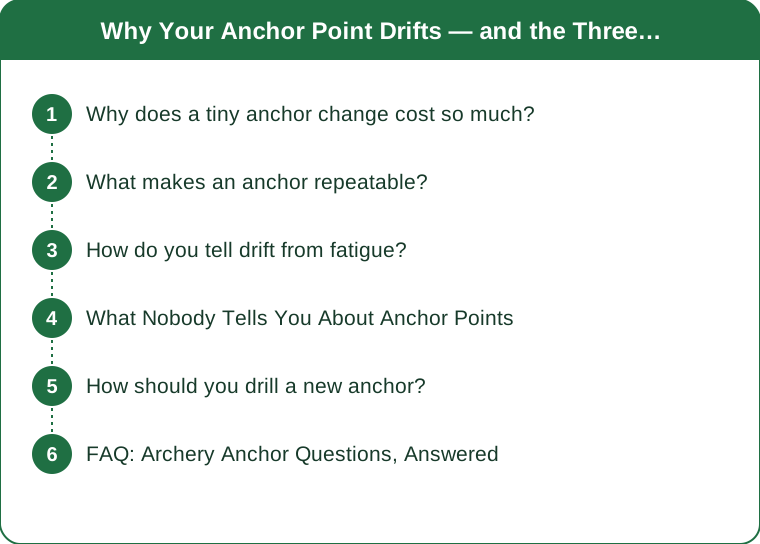
Why does a tiny anchor change cost so much?
Geometry. The bow is a lever amplifying every small variation at your face into a large one at the target.
Your anchor sets the rear point of the aiming system. Move it by 3mm and, depending on your draw length and distance, that can translate into a miss measured in centimetres at 18 metres and considerably more at 50. The amplification scales with distance, which is why anchor problems often stay hidden indoors and appear dramatically outdoors.
Three axes of drift, each with a different signature:
- Vertical drift (anchor higher or lower on the face) produces vertical stringing in the group
- Horizontal drift (hand further from or closer to the face) produces horizontal scatter and often a change in draw length
- Rotational drift (head position changing) shifts the whole group and is the hardest to detect
Read your groups as diagnostic information. A group scattered evenly in all directions is usually release or bow arm. A group stretched vertically points at anchor height or draw length. A group that walks sideways as the session progresses points at fatigue and hand position.
This is why photographing your target faces is worth doing. The pattern tells you which of these to investigate before you change anything.
What makes an anchor repeatable?
Multiple hard contact points, not one soft one.
A single contact point is not enough - most soft-tissue references such as the corner of the mouth can shift by several millimetres without you noticing. Skin moves, and it moves more when you are tired or cold.
Build from at least two, ideally three:
For recurve:
- Index finger under the jawbone - a bone reference, which is the most reliable kind
- String touching the centre of the chin and the tip of the nose - two additional references that are easy to feel
- Hand pressed flat against the jaw and neck, not floating near it
For compound:
- Kisser button at the corner of the mouth
- Peep sight alignment with the scope housing
- Knuckle or thumb contact at a fixed point behind the jaw
The principle: at least one reference should be bone rather than soft tissue, and at least one should be visual rather than tactile. Mixed reference types fail independently, so when one drifts the others catch it.
Verify with a mirror. Draw at a mirror with a light bow or a stretch band and look at where every point sits. Most archers discover at least one reference they believed was consistent and is not.
How do you tell drift from fatigue?
Run a simple session audit before changing your form.
Number and photograph every end. Shoot your normal session, keeping each target face separate and photographing it in order. Then look at the sequence rather than the total.
Reading the pattern:
- Groups similar throughout, all off-centre: anchor is consistent but in the wrong place. That is a sight adjustment or a position change, not a consistency problem.
- Groups tight early, scattered from around end 5 or 6: fatigue. Your anchor is fine when fresh and degrades under load.
- Groups scattered from end 1: genuine consistency problem in the anchor itself.
- Groups tight but walking in one direction across the session: something is progressively changing - often draw length shortening as the back tires.
If it is fatigue, the fix is not more anchor practice. It is draw weight - a bow you can hold comfortably at full draw for 15 to 20 seconds, repeatedly, at end 8 - and back strength conditioning. Most archers, particularly newer ones, are on slightly too much draw weight, and it shows up as late-session inconsistency long before it shows up as an inability to draw.
A useful test: shoot your normal number of ends, rest 20 minutes, then shoot three more. If those three are tight again, it is conclusively fatigue rather than technique.

What Nobody Tells You About Anchor Points
Your anchor changes with clothing. A high collar, a hood, or a thicker jacket alters where your hand and string contact your face and neck. Autumn is when groups mysteriously open up for a lot of archers, and the cause is a layer of fabric. Check your anchor when you change clothing, not just when you change equipment.
Hair matters. Hair between the string and your face is a variable-thickness spacer. Tie it back the same way every session, or accept the variation.
Cold shifts your face. In cold weather you tense your jaw and shoulders, and the soft tissue references change. Winter anchor is often slightly different from summer anchor for reasons that have nothing to do with technique.
Drawing to a position is the core error. The anchor should be the result of drawing into your back, not a target you reach for with your hand. Archers who consciously aim their hand at a spot end up with a hand that arrives correctly and a back that is not engaged - which shoots inconsistently and feels correct, which is the worst combination.
Video from the front, not the side. Side video shows draw length and posture; front video shows where the string sits relative to your nose and chin, which is where the drift actually happens. Almost nobody films from the front and it is the more useful angle for this specific problem.
Anchor changes take about two weeks to feel normal. A new anchor position will feel wrong and shoot worse initially. Judging it after two sessions guarantees you revert to the old one. Commit to roughly 6 to 8 sessions before evaluating.
How should you drill a new anchor?
Blank bale work, close range, no target face. This is where anchor changes are actually built.
Blank bale means shooting into a bare target butt from 2 to 3 metres with your eyes on your form rather than on aiming. Removing the aiming task frees all your attention for the physical position, and it removes the score pressure that makes people revert to old habits.
A four-week structure:
- Week 1: 30 arrows per session, blank bale only, eyes closed on half of them. Feeling the three contact points is the entire task.
- Week 2: 30 arrows blank bale, then 12 arrows at a target face at short distance. Stop if the anchor changes when the target appears - that reversion is the thing to notice.
- Week 3: 20 blank bale as a warm-up, then normal shooting at moderate distance. Film from the front once.
- Week 4: normal training, with 10 blank bale arrows at the start of every session as maintenance.
Keep the blank bale warm-up permanently. Ten arrows at the start of every session, focused purely on the anchor, is the cheapest insurance against slow drift over months.
Draw weight caution: do this work at a comfortable weight. Building a new motor pattern while fighting a heavy bow embeds the fatigue-driven version of the anchor, which is precisely what you are trying to eliminate.
FAQ: Archery Anchor Questions, Answered
How do I know if my anchor is in the right place, not just consistent?
Consistency comes first - a repeatable anchor in a slightly unusual place will still group well and can be corrected with sight adjustment. If your anchor is consistent and your form is comfortable, resist changing the position just because it differs from someone else’s.
Should the string touch my nose?
For most recurve archers it is a valuable third reference and worth having. If it is uncomfortable or your face shape makes it awkward, a solid two-point anchor works fine. Comfort matters, because an uncomfortable reference gets avoided under pressure.
Why does my anchor feel different on the first arrow of a session?
Cold muscles and no established rhythm. This is normal, and it is the argument for warming up with a stretch band and several blank bale arrows before shooting for score.
Does draw length affect anchor consistency?
Directly. A bow set too long for you forces a stretched position that is impossible to repeat when tired. Anchor problems that resist all technique work are worth checking against draw length with a coach.
How often should I check my anchor on video?
Once a month during normal training, and immediately after any change to equipment, clothing, or draw weight. Slow drift is invisible day to day and obvious across a month of footage.
TL;DR:
- A few millimetres of anchor drift becomes a large miss at distance, and the group pattern tells you which axis moved
- Build at least two or three contact points, including one bone reference and one visual reference
- Groups that degrade from end 5 or 6 mean fatigue and draw weight, not anchor technique
- Clothing, hair, and cold weather all shift an anchor - recheck when any of them change
- Rebuild with blank bale work over about four weeks, and keep ten blank bale arrows as a permanent warm-up
The anchor is the reference everything else is measured against, which is why a small problem there shows up as a general accuracy problem everywhere else. Film from the front, read your group shapes, and the diagnosis is usually straightforward.
Keep Reading
This article is for general informational and styling purposes only. Fit, sizing, and product availability may vary.